Wednesday, July 31, 2013

Pancake Cupcakes


My daughter absolutely loves these. She would eat all of them if I'd let her. We call them pancake cupcakes. They are super easy to make.

Supplies:
Pancake mix
Any toppings
cupcake liners & tin

I let my daughter pic the toppings this morning
 

Preheat oven to 350. Mix the pancake as directed on the bag. Line the cupcake tin with liners. Spoon 2/3rds pancake mix into the liners. Sprinkle each pancake cupcake with whatever you wish. Place in the oven for 12-15 minutes.

I have also used sausage crumbles. These are great for breakfast on the go and dunking in syrup

Tuesday, July 30, 2013

Celery Update

Here is an update on the celery we started to grow. In a weeks time, it has grown 3in. Some of the outer stalk pieces have started to turn color so I figured it was time to transplant it.


I used about a medium sized pot. You don't want to use one too big or too small. I know I will have to transplant it again once it gets bigger.
 
 
Fill the bottom of the pot with a little bit of soil. You need the celery to sit on something other than the pot.
 
 
Cover the rest of the of the celery with the soil. Just leave a little of the top exposed.
 
 
Now we sit and wait to see what happens. 


Noxicare - Natural Pain Relief Cream Contest!!

You can win your very own tube of Noxicare. It is a natural pain relief cream to help sooth your achy muscles, nerve pain and arthritis pain.

Noxicare uses 7 different natural plant extracts:

  1. Turmeric Extract: one of the powerful healers found in nature, recognized for its anti-inflammatory properties.
  2. Willow Bark Extract: has been used to treat pain and inflammation since the time of Ancient Egypt and Greece.
  3. Ginger Extract: helps alleviate muscle strains, arthritis and rheumatism, and is a catalyst for improving the effectiveness of other herbs.
  4. Holy Basil Extract: properties include anti-inflammatory, antioxidant, antibacterial and antiviral.
  5. Rosemary Extract: has served a variety of purposes including topical use for joint or musculoskeletal pain.
  6. Alpha Lipoic Acids: antioxidants used to treating diabetic neuropathy and increasing blood flow to the nerves.
  7. Boswellia Extract: an anti-inflammatory used to treat arthritis and joint pain.
Noxicare™ has been especially helpful for relieving pain of those suffering from arthritis, athletic injuries, carpal tunnel syndrome, neuropathy pain associated with diabetes, musculoskeletal disorders, tension headaches.


Enter below to win your very own Noxicare Cream


a Rafflecopter giveaway I received one or more of the products mentioned above for free using Tomoson.com. Regardless, I only recommend products or services I use personally and believe will be good for my readers.

Sunday, July 28, 2013

Easy Headband

I found this really cute headband to make on Pinterest (yes I find a lot of stuff on there to make). However, all it showed was picture steps. There wasn't any information for the dimensions, so I made up my own. I roughly measured around my head and my daughters head. Below is everything I did to make a headband.

Supplies:
2 pieces of fabric 3.5in by 21in
2in piece of elastic
iron and ironing board
sewing machine with fabric matching thread
scissors
pins
measuring tape

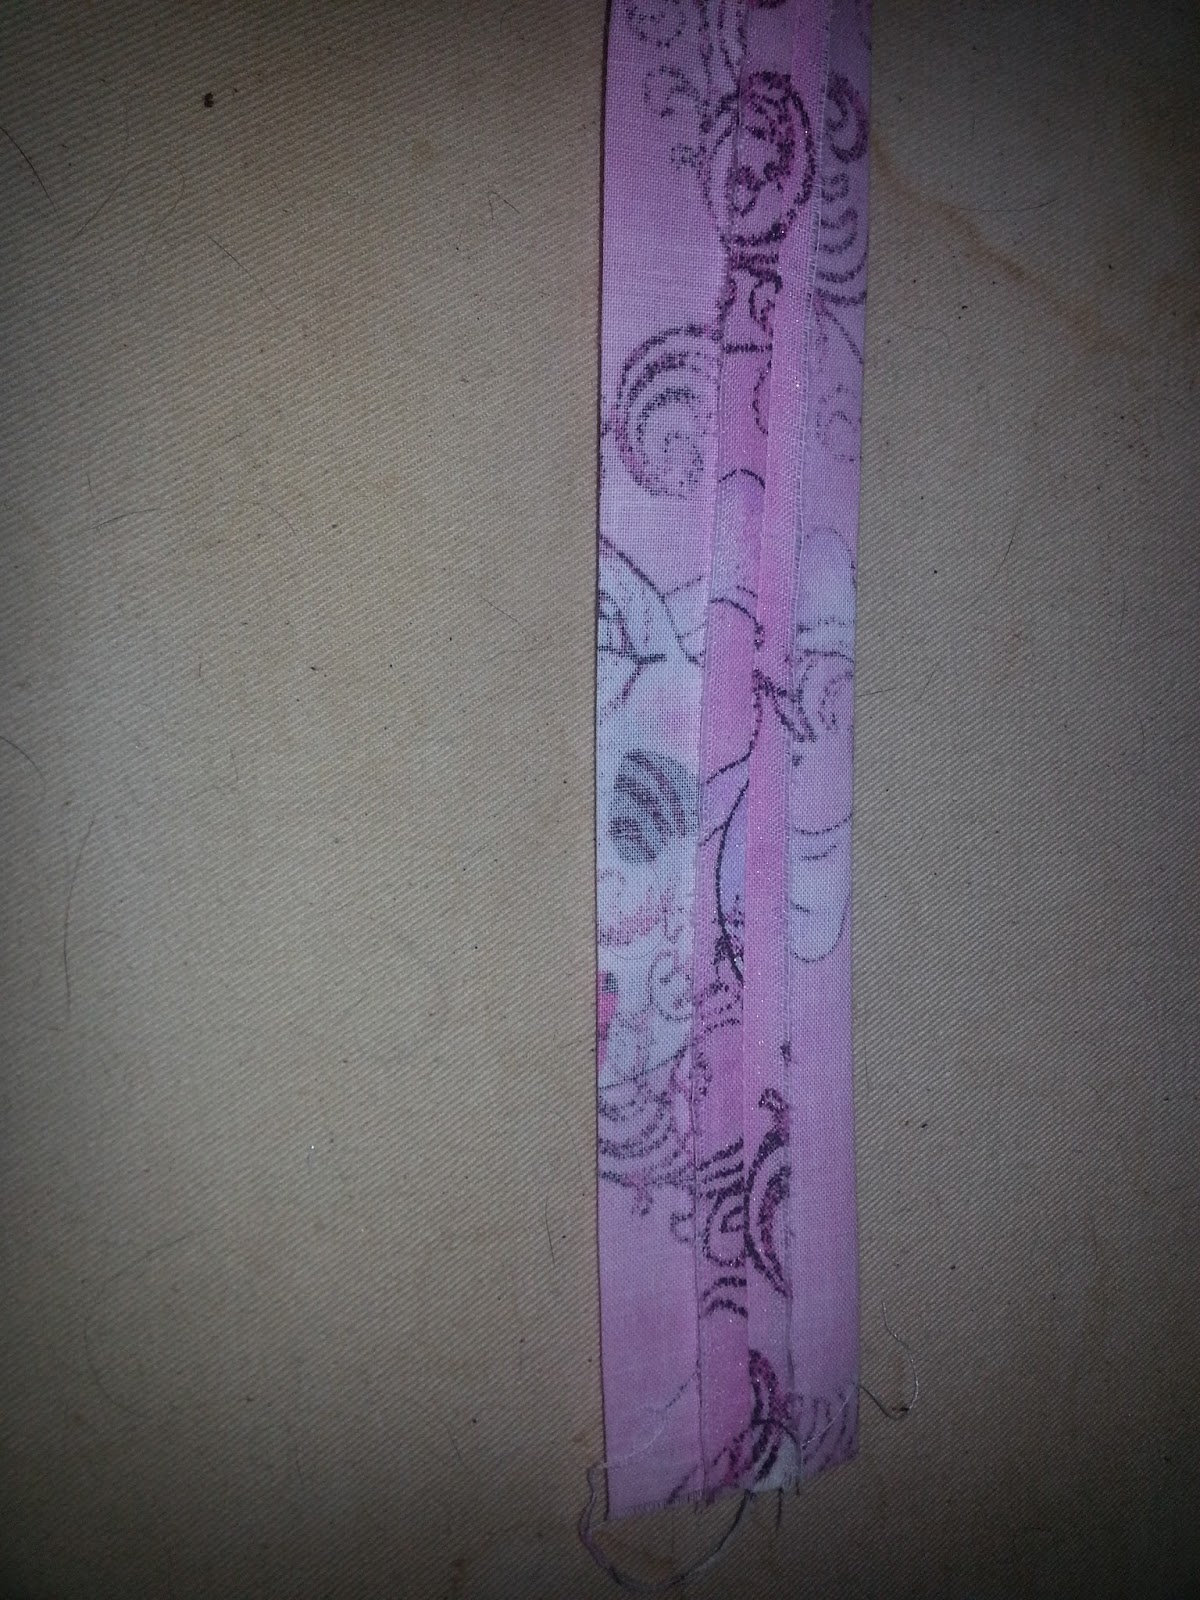
First, measure out and cut 2 strips of fabric 3.5in wide by 21in long. Iron them so they are nice and flat
 
Putting right sides together, pin down the long side of the fabric. Do this to both fabrics
 
Sew down the long side of the fabric with a 1/4in seam. Do this to both fabrics.

 
Press open the seam and turn fabric right side out. Do this to both fabrics.
 
 
Lay fabrics tubes out forming an X. Seam side up.
 
 
Take the top right and bring it down to the bottom left. Take the top left and bring down to the bottom right.


Make sure that it is even by putting the 2 ends together on each side. Cut a 2in piece of elastic.
 
 
Tuck in each end about a 1/4in so no raw edge shows. Slip the elastic between the ends on each side. Pin it so it wont move.


Sew each end. Trim threads.
 
Tip:
If you don't want to add elastic, add a few more inches to the length

Saturday, July 27, 2013

Apples and More Apples!

The other day I was fortunate enough to win a little green pouch from the  Lean and Green Frugal Living blog and since then my daughter has been begging to use them. So I decided to make homemade applesauce. Since I was already getting apples for that I figured why not buy 2 more to make some apple chips.


First thing I did was to wash them. I used half water and half vinegar. You only leave the apples in there until the water turns grey. This helps to get off all the wax and dirt.

Applesauce
For the applesauce, I used 2 red delicious, 1 granny smith apple, and 1 golden delicious.
 
 
Peel, slice and core the apple.


In a pot put a half of cup of water and the apple slices.


Cover the pot, turn it to medium heat and let it cook for about 20 minutes.
After the 20 minutes, take it off the heat and start to mash it. I started with a fork and then went to a flat wooden spoon. I only need to add about 1tsp of sugar and 1/2tsp of cinnamon.
 
I made mine pretty smooth since it was going into the little green pouch.
 
Apple Chips
 
After washing the apples, I cored my apples. When looking on-line for tips on making the chips, some people didn't core the apple. I did only because the seeds are toxic.
 
 
Slice the apples. You don't want them too thick or too thin. Lay them on a tray in a single layer and sprinkle with cinnamon.
 
 
Bake at 325*F for 20 minutes. Flip them and bake for another 10 minutes.


Friday, July 26, 2013

Reverse Tie-Dye

This was something else that I had seen on Pinterest. It's called reverse tie dye. You take a colored shirt and use bleach. If you decided to do this, my suggestion would be the darker the shirt the better. You will see why below with the shirts that I used.

Supplies:
1 dark shirt
bleach
rubber bands
water
large plastic bowl

I used the shirts that we got from Vacation Bible School this week. My daughters was yellow and mine was green.


We each took some rubber bands and tied up the shirt like you would with any normal tie dye.


After that we took a larger plastic bowl and put it in the sink. I used a mixture of 3.5 cups of bleach to 3 cups of water. I let the yellow shirt sit in the solution for at least 10 minutes flipping it 2 times. I rinsed it in the sink and set it aside. The green shirt did not take as long. It took maybe a minute on each side. The darker the shirt the less time you will need to keep it in the solution.


After doing a quick rinse in the sink, I ran them through the washing machine 2 times on the rinse cycle. The first time, I rinsed them in the washing machine with the rubber bands on. The second time, the rubber bands were off. Then off into the dryer they went.

Here is the final look:
There is no picture of the yellow one because you can barely see the circle.

My suggestions:
1. Use a dark colored shirt
2. Make sure you use enough rubber bands.
3. Don't leave it in the bleach solution very long.

Next time I try it, I will have to remember my own suggestions.

Thursday, July 25, 2013

Regrowing Celery

I saw this on Pinterest and wanted to try it. At first I was skeptical about trying to regrow celery with using the bottom of the celery. I figured that if it was going to work the cut stalks were just going to grow. Well I was wrong.

I started off with cutting off the bottom. Its about 3inch that I cut off. All I did was stick it in a little bit of water.
 
 
I left it on the kitchen counter. Two days later I went to check on it and to my surprise it started growing from the middle.


The outer cut pieces of celery have started to dry out but the center of it is still taking in water. It will be interesting to see what happens in the next few day.
 
This is a great science experiment to do with your kids at home or if you teach, to do with your class.


Wednesday, July 24, 2013

Sun catcher and keychain

I have seen this done on Pinterest and have been wanting to try these for a while but the Chick Fil A by my house beat me to it. Every Wednesday they have a kids crafts time and its FREE. This week they made a sun catcher and/or keychain. My daughter made both.


To make the crafts you melt pony beads in your oven in whatever kind of melt container can go in your oven. The craft lady used the clear kind of pony beads. After they have cooled you can use a tiny drill bit to make the holes.

Here is the link to the instructions to melt the pony beads.
http://feelincrafty.wordpress.com/tag/melted-bead-sun-catchers/


Megaphone and Praise Hand

Another great day at VBS!!! Today most classes made a megaphone and the oldest group made praise hands.

Megaphone Supplies:
Party Hat
Pipe Cleaner
Stuff to decorate hats

The first thing you need to do take the elastic off the hat and cut about half an inch off the tip of the hat. On the opposite side of where the hat is put together punch 2 holes in the hat, one goes near the top, the other down near the bottom. Next put the pipe cleaner in the holes folding  the ends down to make a handle. Finally, decorate it however you want.


Praise Hand Supplies:
Thick paper
Marker
Pencil
Craft Stick
Scissors
Stuff to decorate

Have your child trace their hand with the pencil. Cut out the hand with scissors and glue a craft stick on the bottom of the cut out hand. Decorate with markers and whatever else you want


Tuesday, July 23, 2013

Shaving Cream Painting

Vacation Bible School was another success today! The kids had a blast with the craft today. We finger painted with shaving cream. The kids thought it was great getting messy.

Supplies:
Shaving Cream
Powder tempera paint or food coloring
Paper


This is what we used today:
I hid the color of tempera paint in the shaving cream so when they started to finger paint the color would start to show. You need to make sure you mix the color and shaving cream really well.

After they have finished finger painting, lay a piece of paper on top of the paint and gently press down. Pull the paper back up and the shaving cream paint has stuck to the paper leaving the color.


***Note not all posts will be religious. I just happened to start my blog when Vacation Bible School started


Monday, July 22, 2013

VBS Day 1

Today was the first day of Vacation Bible School and it was the best. I am doing the crafts all week. Today was making the tablets for the Ten Commandments.

Supplies:
A small handful of clay
1 toothpick
A square of wax paper

First roll the small handful of clay into a small ball.  After you have a ball, flatten it out on the wax paper. You don't want it too thick or too thin. Gently tap 3 of the side on the table so they are flat. Leave the top rounded. With the toothpick draw a line down the middle but don't go all the way through the clay. On the top left hand side write the number 10 and on the right hand side write the word Laws. Once that is done write the numbers 1-5 under the number 10. Write numbers 6-10 under the word Laws. Since it is small there is not a way to actually write out each Commandment. All that is left is to let it air dry.


***Note: There will not always be religious ideas on my blog. It just happens to be that I started this the week of Vacation Bible School.

Sunday, July 21, 2013

Things are coming along slowly. You can now follow me on twitter @all4thefamily. There is also a Facebook page that you can like as well.

This week is going to be a very busy week. I am doing craft class for Vacation Bible School at my church. I have done this for years and enjoy it. I'll bring you all the fun crafts that we are doing this week plus whatever else we do.

Saturday, July 20, 2013

Welcome!

I decided to make this blog to share what I do with and for my family. I enjoy doing everything from crafting with my daughter to saving money.. I hope this site will help you in someway whether it is a dinner idea or a new way to save money!